While it may not seem like it, replacing an old toilet with a new one is one of the easiest handyman Stockton jobs around, and if you’re looking to upgrade your Concepts for designer bathrooms Milwaukee with a new toilet for better efficiency, read on for a helpful step-by-step guide on how to do the job right.
Remove Your Old Toilet
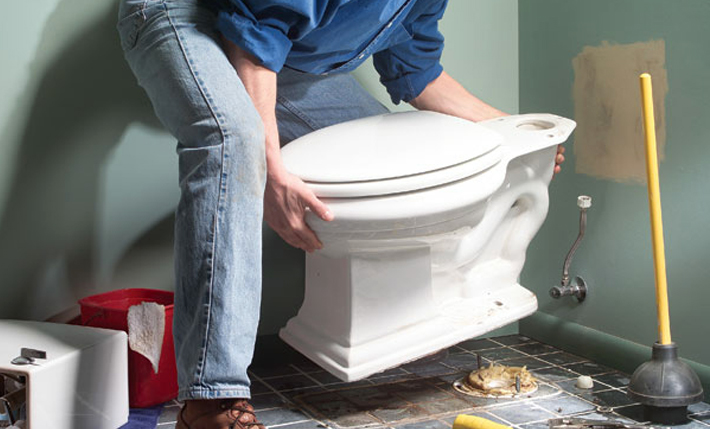
First, switch off the water supply and flush the old toilet for the last time, making sure to hold the flusher down until you’re sure that all the water is completely drained from the bowl as well as the reservoir. Place a sponge inside the toilet bowl to suck up any remaining water, and then disconnect the toilet tank from any water supply that it’s getting, making sure that the nuts are removed from the closet bolts. Then, get someone to help you lift the toilet so that you can remove it from the drain.
Remove the Wax Ring
First, take counteractive measures to block sewer gases by placing a rag inside the drain, because you don’t want the smell interrupting you while you’re working. Then take out the worn-out wax ring with a putty knife, and check the closet flange so that you can replace it if you see any signs of deterioration.
Make Your Measurements
Measure the distance from the wall that’s directly behind your toilet all the way to the closet bolts that are responsible for keeping the toilet attached to the floor. Use these measurements when shopping for the new toilet which you’ll be installing so that it fits your space.
Install Your New Toilet
Put in the new closet bolts while making sure that they’re aligned with the holes found on the sides of your toilet. Mount the new wax ring on the base of your handyman Stockton CA and then place it on top of the drain, so that you can make sure that the holes on the bottom of the toilet are lined up with your closet crews when you set it down.
After putting it down, press the toilet firmly in place to make sure that it’s not moving and that it’s watertight. Mount the cap base followed by the washer and the closet screw nuts, which you should tighten firmly so that everything is securely in place, but not too tight that they break the toilet. Then mount the caps onto the closet screws and level any screws that stick out with a hacksaw.
By the way, two-piece toilets typically require that you install the bowl first before you reactivate the water supply, as the toilet arrives with the flush components already assembled. In any case, you’ll then have to install the rubber gasket along with the bolts before mounting the tank onto the toilet and make sure that the bolts are tightened well to create a waterproof seal.
Reconnect Your Water Supply
After reconnecting the water supply, immediately switch the water on and inspect the toilet for any leaks so that you can fix them right away. If you’re unable to track the source of the leak even after turning the water off and checking the toilet connections, then it’s time to call a Stockton handyman professional. However, if there are no leaks to be found, then you can proceed with attaching the lid. In the end, seal the toilet base with some latex caulk and you’re done!